Scroll Top
353 Railroad Avenue Hackensack, NJ 07601, USA

CAD Modeling and Reverse Engineering

CAD Modeling and Reverse Engineering
BC3F9E58-FB27-4C3D-AE23-4B500A2505A7IMG_3700

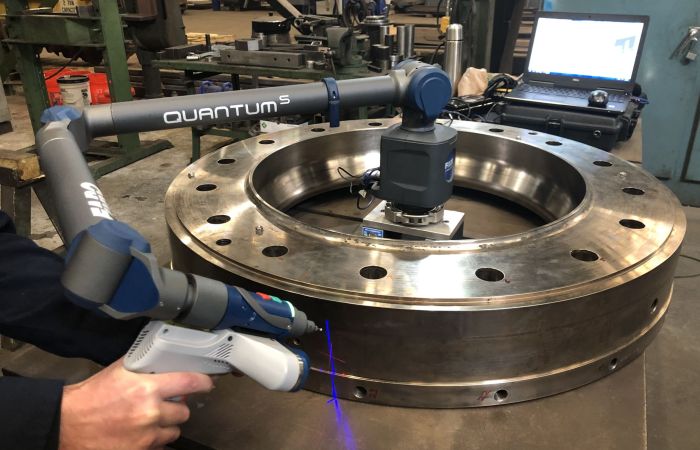
Reverse Engineering, as it relates to 3D Measurement Services, is a process that involves capturing the physical dimensions and characteristics of an existing object or component to create a digital 3D model. This technique is widely used in various industries, including manufacturing, engineering, product design, and maintenance. At Rotatek, Reverse Engineering can be accomplished with the use of our Laser Trackers, Arms and Scanners.

how Can we Help you?

Our expert team is ready to help you with your next project. Explore the industries we serve or contact us to learn more.

Reverse Engineering services

The primary goal of Reverse Engineering is to recreate a physical object or component in digital form. There are several reasons why this process is undertaken including Product Design Improvement and Manufacturing, Legacy Part Reproduction and Inoperability and Integration.

Product Design Improvement and Manufacturing

Reverse Engineering allows engineers and designers to study and analyze an existing product to understand its structure and functionality better. This knowledge can lead to design improvements or modifications to enhance performance, reduce costs, or incorporate new features.
Legacy Part Reproduction

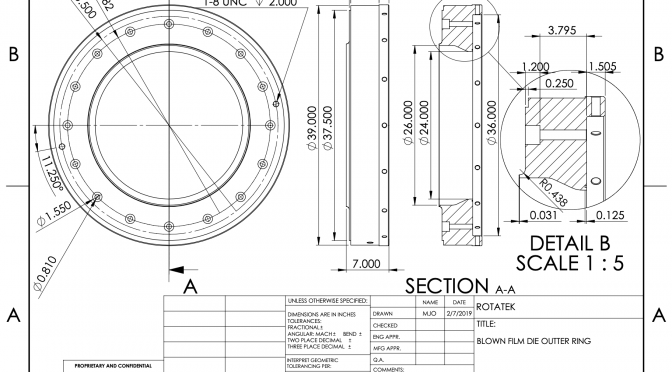
In cases where the original design documentation for a component is missing or outdated, Reverse Engineering can be used to reproduce the part accurately. This is particularly valuable for maintaining equipment in industries where spare parts may no longer be available.

Interoperability and Integration

When integrating components from different manufacturers, Reverse Engineering ensures compatibility and proper fit by creating a 3D model that can be analyzed and modified as needed.

Screen Shot 2023-11-30 at 2.45.36 PM
Data Acquisition

3D Measurement Devices, such as Laser Trackers, Arms and Scanners, are employed to capture the physical geometry of the object. The measurement process generates a point cloud, which is a collection of 3D data points that represent the object's surface.

Point Cloud Processing

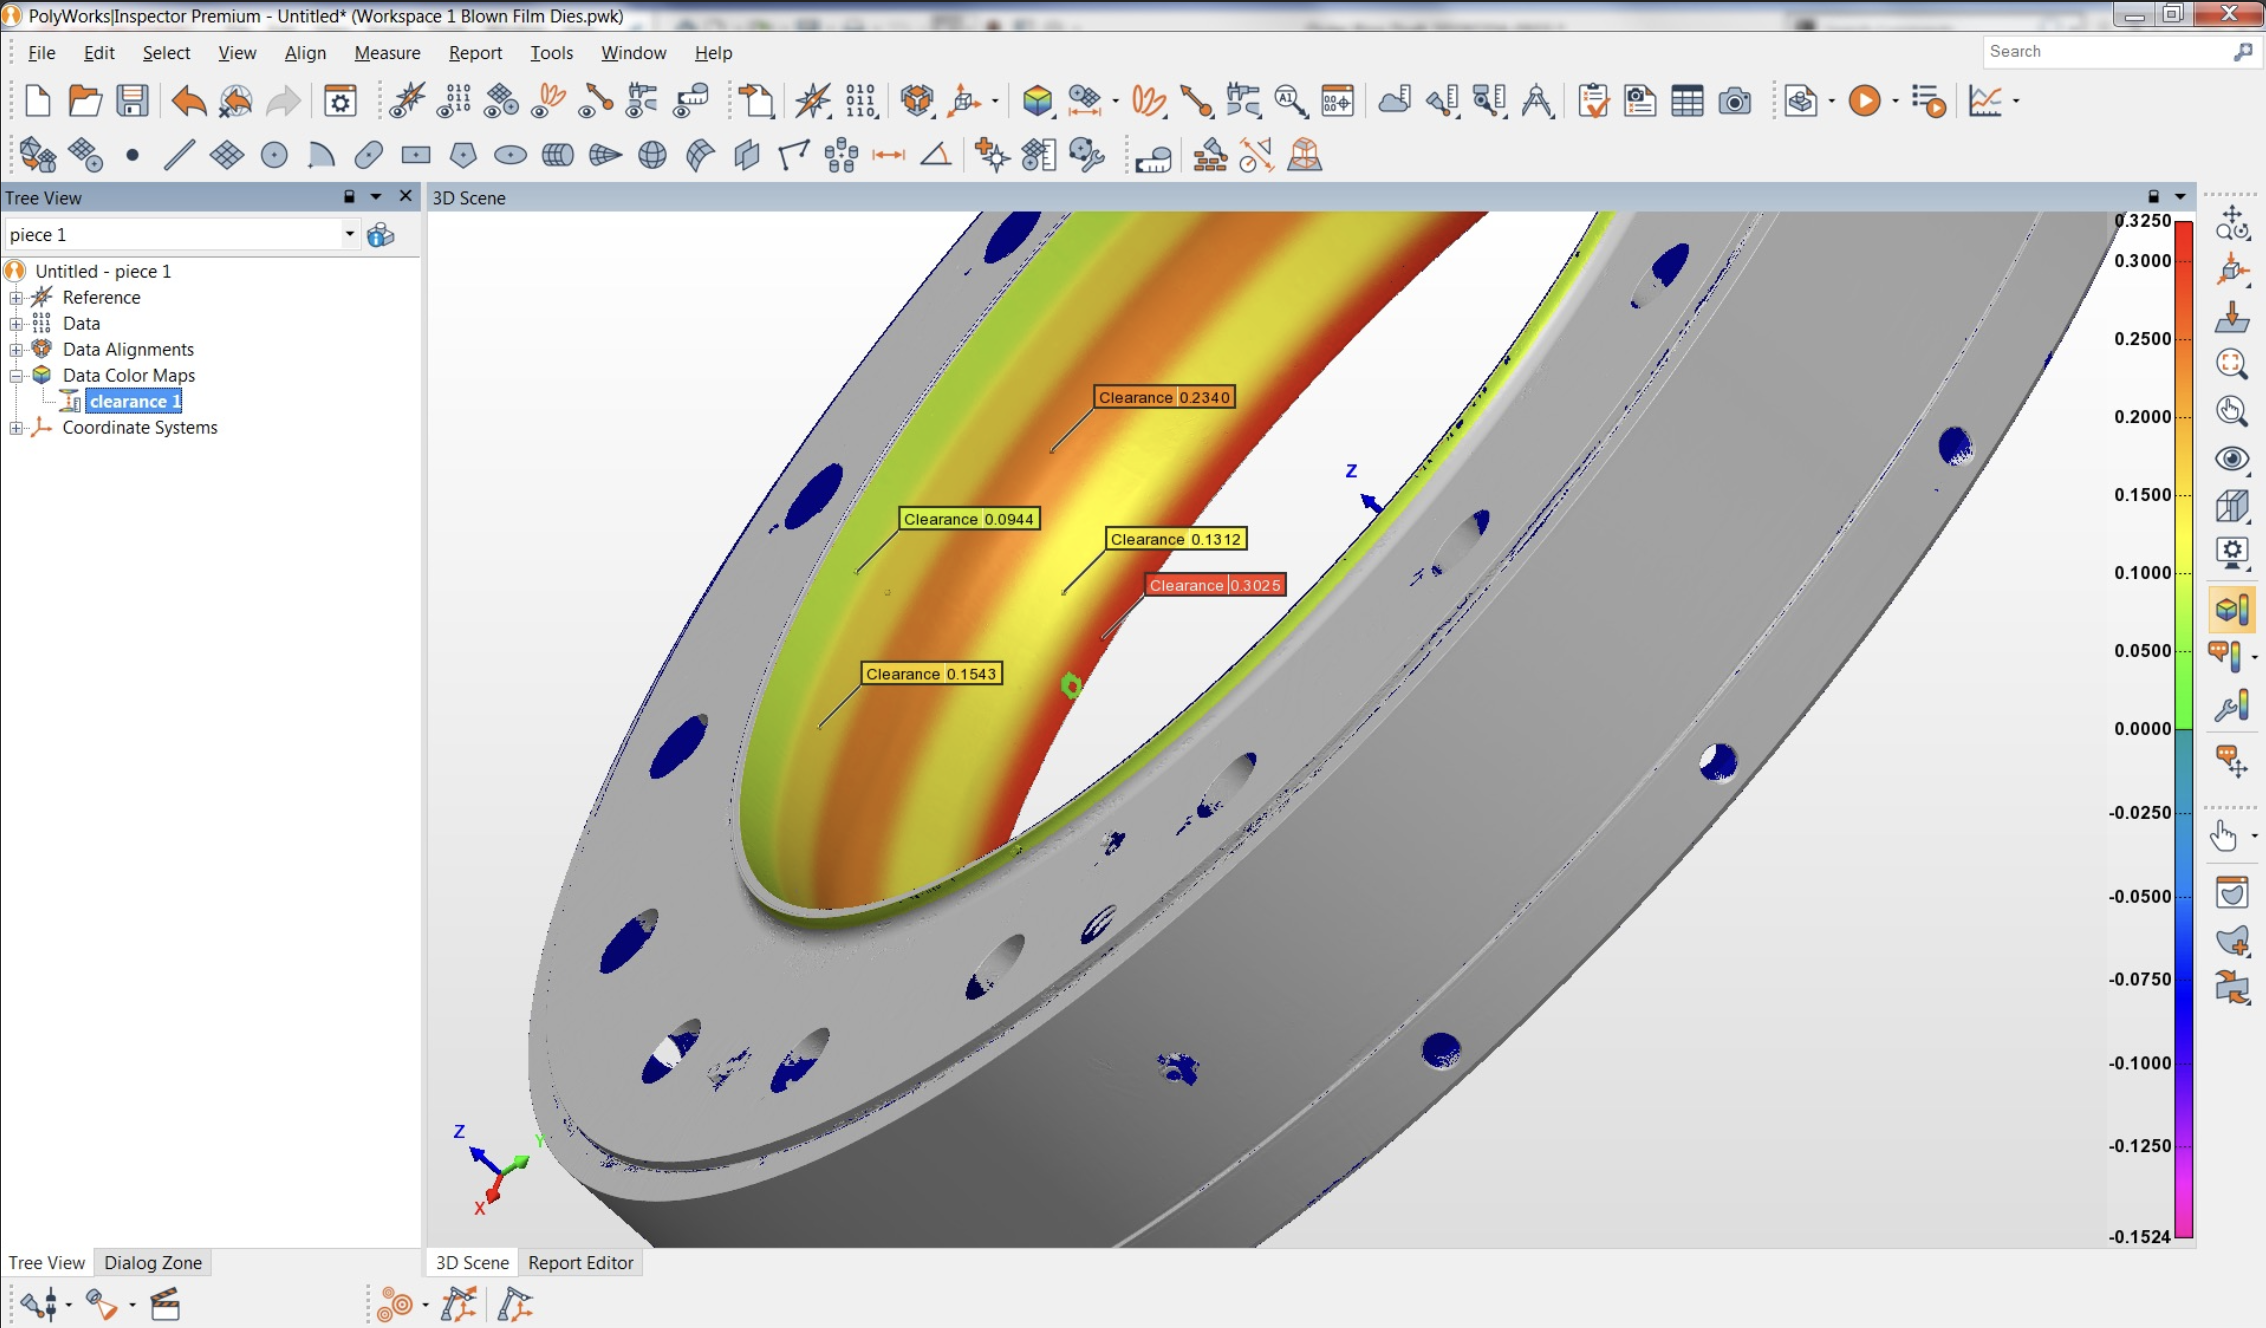
The raw point cloud data is processed using specialized software to remove noise, align multiple scans (if needed), and create a unified and accurate representation of the object's surface.

Surface Reconstruction

Once the point cloud is processed, the next step is to convert it into a digital 3D model with surfaces. This is done through a process called surface reconstruction, where the software connects the points to form polygons, creating a solid 3D representation of the object.

CAD Model Creation

The final step involves converting the reconstructed 3D model into a Computer-Aided Design (CAD) format. CAD models allow engineers and designers to work with the digital model, modify it, and use it for various purposes, such as simulations, 3D printing, or integration into other designs.